
Introducing CP OS v1.4
CP OS v1.4 enhances the Yamaha CP73 and CP88 with new sound options for producers and performers. The new pianos are unique and distinctly different than all the others. New Sub Sounds add cool pads and strings, new guitars and dynamic sforzando brass section. There are also new workflow and navigation improvements. Let’s take a closer look!
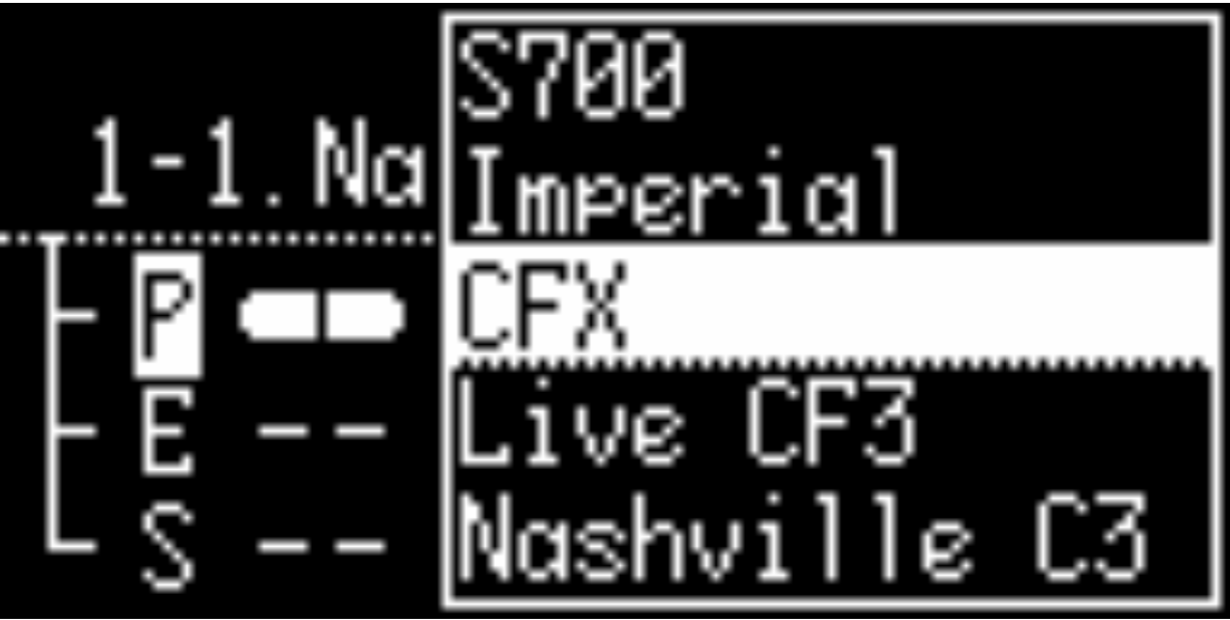
New Pianos
Nashville C3: Recording studios often use analog tape to process digital recordings for added warmth, depth and character. This idea was incorporated into the sampling sessions for the new Nashville C3 added in CP OS v1.4. With a 6’1” (186 cm) soundboard, this smaller grand piano adds a new unique piano color to CP73/88. The Nashville C3 was a collaboration with Yamaha Artist Relations in Nashville and the Yamaha USA sound design team. All of the samples were processed using analog tape at the Yamaha Entertainment Group studios, adding a vintage texture. If you are a fan of the U1 already in CP73/88, you’ll love the Nashville C3. It sounds great on its own, and blends great when layered with E.Piano and Sub Section Voices. Check out the audio examples below:
The Nashville C3 is an great choice for all types of country music, but works well in ballads, pop and jazz fusion as well.
CF3 Live: The CF3 Grand from the CP300 was added in OS v1.3 at the request of many keyboardists and producers. It is known for its ability to cut through dense arrangements and is a favorite choice for worship, pop and rock pianists. CP OS v1.4 adds the second CF3 Grand from the CP300, “CF3 Live”. This brighter piano has been optimized for even better presence in a mix, featuring prominently even in large line-ups. Check out the audio examples below:
New Sub Voices
CP OS v1.4 increases the number of Sub Section sounds. There are new synth pads, strings, classical nylon and steel string acoustic guitars, a sforzando brass section and accordion. All sound great, play great and are useful in many musical situations. Check out the new Sub Voices below:
Workflow Enhancements
A few workflow improvements have been added in CP OS v1.4 to speed up Voice selection and workflow:
1. When selecting Voices in a Section there two new ways to call up the Voice list:
– PRESS and HOLD the Voice select switch (The Yellow, Red or Green rocker switch in the section.)
– Double-click the Voice select switch.
Either action calls up the Voices list:
2. When you are in MENU or SETTINGS and any section within just press the [MENU] or [SETTINGS] button to immediately return to the top Live Set screen.
CP OS v1.4 is available as a free download here.
