Halsey’s Greg Spero talks music and MONTAGE
Yamahasynth.com (YS): Tell us about your musical background (school, influences, etc.).
Greg Spero (GS): My musical background is a kaleidoscope of many different styles. Growing up, my dad was a keyboardist/producer for rock bands while my mom was a classical piano teacher. I remember lying in bed at night listening to Kevin Lee and the Lonesome City Kings. I loved the music so much because it represented my father to me. My dad was on the road for the very early part of my childhood, but his music always kept him close to me.
As I was growing up, I would hear my mom playing romantic era repertoire like Debussy, Rachmaninoff, and Chopin and her students playing baroque and classical pieces from Bach, Mozart, and Beethoven. We had a small house, and the piano was central, so wherever I was I heard what was being played. I also heard the piano exercises repeated over and over. I heard all this throughout my childhood right when I was developing speech, learning to read, write, etc. It all became part of my brain’s vocabulary! Naturally, I would sit down and try to sound out what I remembered from all the music I was growing up with. At the age of three, I started plunking out melodies, figuring things out and playing some basic coherent music on the piano.
In middle school and grade school, I would write songs that I’d sing and play on the piano. Then in high school, I discovered jazz through my band director – Dr. Brame. That sparked my life-long obsession with the genre and my constant need to challenge myself musically, always seeking what was next. I majored in Jazz Piano Performance and Music Composition at the University of Illinois in Champaign/Urbana. At the same time, I was being mentored by Robert Irving III, the music director and keyboardist for Miles Davis during the ’80s comeback era.
After graduating college, I sought out Herbie Hancock, and he became my mentor on both a musical and spiritual level. He taught me that music is more than the technicality that goes into it, and that if your music is going to be a true expression of greatness, your life and existence as a human being will have to be that same thing.
YS: What is your current keyboard setup with Halsey?
GS: The centerpiece of my setup with Halsey is the MONTAGE 8. That is my favorite keyboard released thus far, and has the best user interface and functionality for stage that I’ve found from any of the keyboard companies. Then to the right above that is an MX49, and to the left of that a Moog Little Phatty for some analog synth sounds. Everything is attached to MainStage on an Apple laptop, which I used to layer and affect sounds from the keyboards.
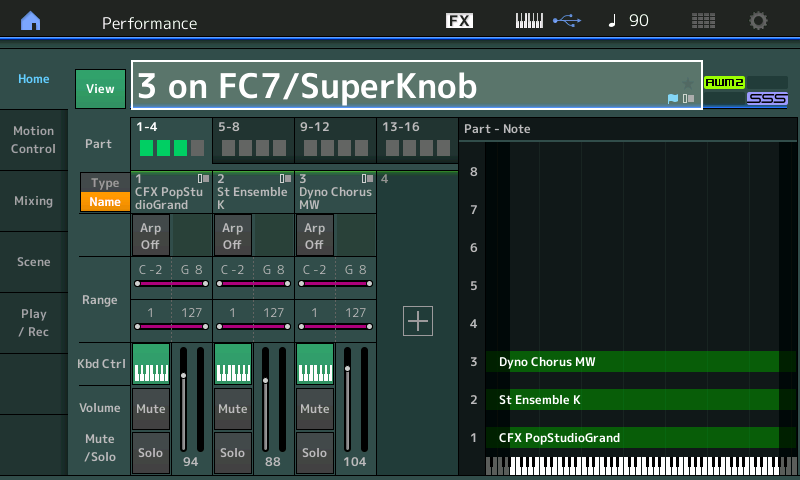
I use an FC4 foot pedal for sustain, an FC5 for switching Performances mid-song, and an FC7 for expression control.
YS: How are you using MONTAGE with Halsey? Is the MONTAGE purely setup as a standalone keyboard or is it more integrated into the rest of your setup?
GS: I’ve integrated the MONTAGE entirely with the rest of the setup. The auxiliary outputs go through a Motu 828 MkII and into MainStage where I affect the sounds. It’s also plugged into the laptop via MIDI, and I trigger samples and software synths using the MONTAGE, which I layer on top of the native MONTAGE sounds.
YS: Are you using the MONTAGE built-in arpeggiator and/or motion sequencing on stage?
GS: I am not. I haven’t had the chance to dive that deep into the MONTAGE yet. That’s one of the great things about the keyboard; you can start using it on a basic and intermediate level right out of the gate, but there is also a world of possibilities to dive into when you want to get even more out of the synth.
YS: What are some of your favorite go-to Performances in MONTAGE?
GS: Honestly, I prefer to create my own. I have a very particular taste in sounds, so I tend to layer and tweak to my own tastes and then go back to those and expand upon them.
YS: How are you using the MONTAGE Live Sets on stage?
GS: I take advantage of the easy user interface. I’ll program the sounds into the grid on the Live Set interface, so I can have all the sounds I need at my fingertips during a performance. I’ll use the piano patch when we play the new hit song “Closer” that Halsey recorded with the Chainsmokers, and then switch to the strings for “Castle” with the touch of one button. It’s put a new level of efficiency for live performances at my fingertips, literally.
YS: Are you working on any other musical projects?
GS: Yes, very much so. I’ve been working on and refining the Halsey set for so long that not much needs to be done day-to-day now except perform. In the time when I’m not performing, I’m working on a project that I currently call “Polyrhythmic“.
On tour with Halsey, we play relatively simple music. It has great depth, but like much music in the pop realm, it stays very straight-forward in terms of harmony, melody and rhythm. As the tour progressed over the last year and a half, I became a little antsy. I started writing music that pushed the rhythmic envelope to a point where it would twist my brain into a knot just listening to the demo I created in Ableton Live. I would write in 13/16 and 17/16, and layer that over a slow 4/4 backbeat (which I’ve learned to love from our touring with The Weeknd). I would write winding melodies that twisted chord changes in unexpected ways over unexpected roots, not knowing if I’d ever actually be able to play the music.
However, I eventually decided I wanted to learn the music I was writing and began practicing it daily while on the road. Eventually I realized we needed to perform this music, so I found the only players in the world who I thought could execute it: Hadrien Feraud and Mike Mitchell. We started working together and quickly became an inseparable musical entity. We just recorded the first record, which is being mixed and which I can’t wait to show you. In the mean time, we have a live recording up at www.polyrhythmic.com.
YS: What kinds of music (genre, band, singer, etc.) are you listening to right now?
GS: I am always trying to find music that pushes the musical envelope. Unfortunately, musical adventurousness is mostly found in the electronic and urban worlds right now because the demand is highest in those genres. It is ironic, because instrumental music, by its very nature, requires the most musical depth to exist because you don’t have vocals as the path-of-least-resistance to emotional connectivity. I’m looking every day for artists releasing recordings that incorporate modern vocabulary with the musical depth of our instrumental heroes.
I’ve found some that are getting there, and I’m working on it myself every day. Some of my peers are walking down that path and have released very solid voices in this direction like Makaya McCraven, Eric Lewis, and Gerald Clayton to name a few. But I often go back to the classic innovators, including Miles Davis, John Coltrane, Herbie Hancock and Wayne Shorter for daily inspiration.
Want to comment/discuss this interview? Join the conversation on the Forum here.
Check out some other comments Greg made about the MONTAGE and hear him demonstrate some aspects here.