
Soundmondo FAQs
How do I use Soundmondo?
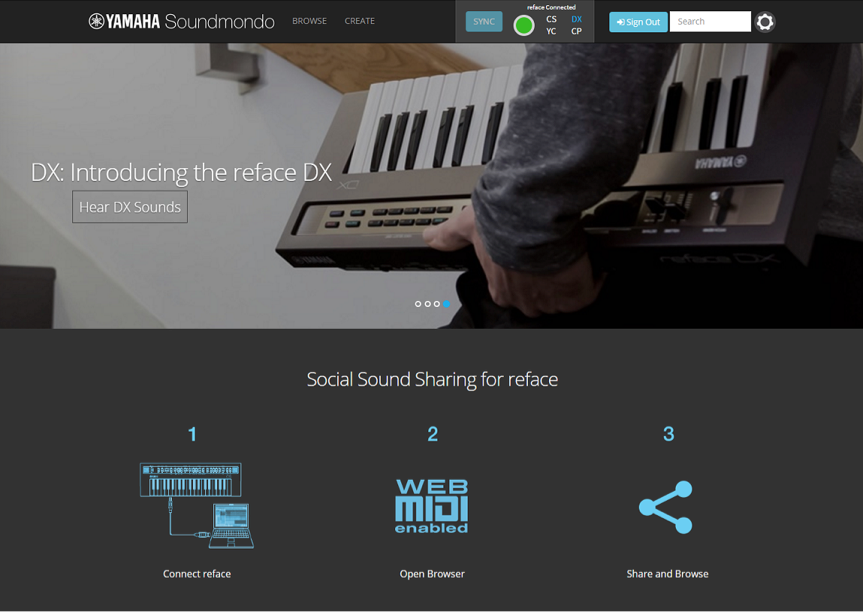
Soundmondo will allow you to STORE and manage your reface CS/DX/CP/YC Voices. You may keep them PRIVATE or make them PUBLIC, sharing them with other reface enthusiasts from around the world! You can download Voice creations made by other reface users then keep and organize them in your own personal account.
Currently, Soundmondo requires the latest version of the Chrome web browser found here. Soundmondo runs on Mac or PC.
Voices can be moved between your reface and computer or vice versa. You can access your library of Voices anytime you are connected to the Internet.
How do I find Voices?
Once you register and SIGN-IN, you can browse for Voices. Simply click on “BROWSE” in the top menu bar. You can search for Voices by reface model, author or tag.
How do I connect to Soundmondo?
Just plug a USB cable into your reface and the other end into your computer and navigate to Soundmondo.com! On your first visit, Soundmondo may ask if you want to Allow or Deny connection to your reface. Select Allow and you should be all set. Sometimes, it takes a few seconds to connect so be patient.
If you still have problems, navigate to your Chrome MIDI settings by typing chrome://settings/search#midi in the menu bar, hitting “Content settings..” and scrolling down to “MIDI devices full control.” From there, make sure either the top or middle button is selected and hit done.
You might need to reload the page and reconnect your reface for the changes to take effect.
How do I know if I’m connected?
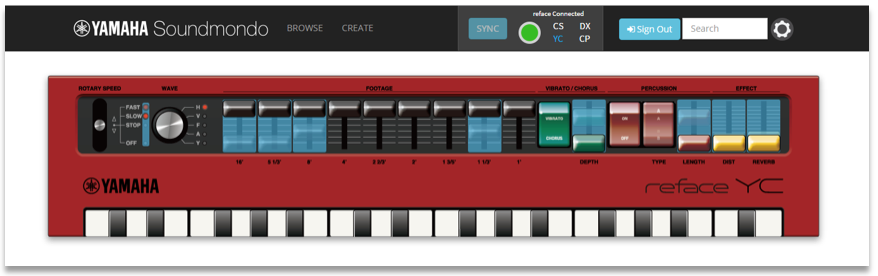
Once you are signed in and have your reface connected to your computer via USB, you will see a green indicator in the top menu with your connected reface model listed in blue text . This connection status will appear on all Soundmondo pages.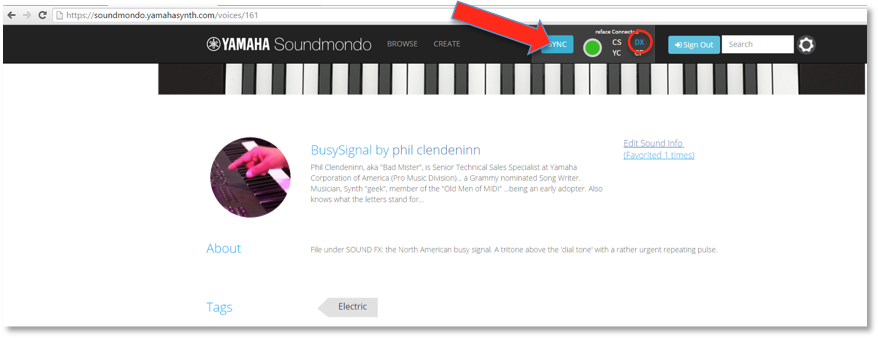
How do I put the Voices into my keyboard?
First, go to BROWSE. Here is where you can see all of the Voices available on Soundmondo. If you are curious about a particular Voice, click on the picture of the keyboard or on the name.
Click [SYNC] to send the Voice from the browser into the “brain” of your USB-connected reface. You can now play the Voice on your reface keyboard!
If you have a reface DX, you can opt to STORE the Voice in the reface DX by pressing the dedicated STORE button.
How do I make the controls of my keyboard match the Voice?
With reface CS, CP and YC, the Voice in its “brain” will not match the physical positions of its controls. To help you get the control in the right position, Soundmondo can display a “virtual panel” on the screen. The virtual panel settings will match YOUR the controls reface keyboard. The blue highlight indicates which controls you have to move with a “ghost” image indicating the correct position of each control. Move the physical controls on our reface so they match the virtual panel. Once you have matched the authors’ settings the highlight and ghost image disappear.
How about the reface DX?
The reface DX works a little differently – when you click on a Voice you will see a parameter chart of all the settings (a road map on how to program the Voice).
Since the reface DX doesn’t have physical controls like reface CP, CS and YC, there’s no need to indicate what’s different – the brain will always match your panel.
How do I save my Voices?
To save a Voice, click on the word “CREATE” on the menu bar. Your front panel will appear and your Voice will be represented in the screen. Give it a name, write a description, select one or more tags and choose whether it should be PUBLIC (Share) or PRIVATE (which places it in your own area.)
You can also embed YouTube or Vine videos and Soundcloud audio demos. Just paste the URL from each site into the appropriate field and the content will automatically appear on the Voice’s page.

How can I make my Voices private?
Just select “Private” under “Accessibility” when you CREATE or EDIT your Voice. This makes the Voice visible to only you.
How can I share my Voices with everyone?
Sharing your creation is as easy as marking the PUBLIC box when you CREATE or EDIT your Voice.
How can organize my Voices?
If you click the “gear” icon in the top right, your profile page appears.
The top is for your profile while the bottom is for Voice organization.
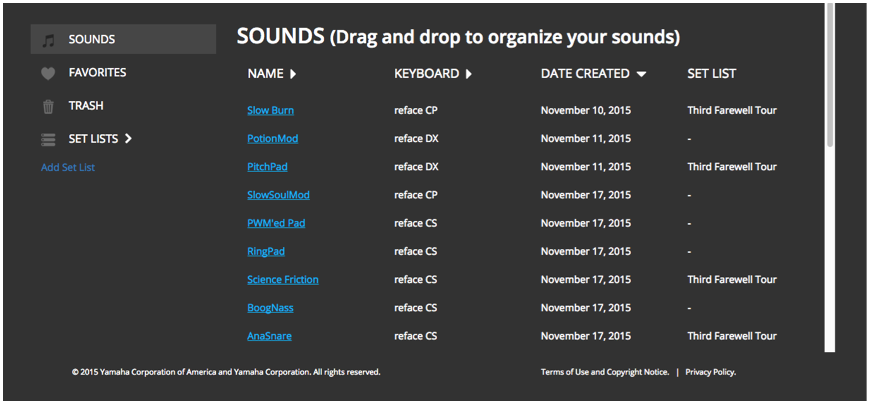
You can create SET LISTS which are virtual collections of Voices. Just click “Add SET LIST,” give it a name and hit SAVE. Your new SET LIST appears and you can drag Voices into it.
SET LISTS are great for their namesake: organizing a group of Voices you’ll use to play at a gig or session. You can also use them to put your Voices into categories like Leads, Pads, Drums or whatever you want.
Note, SET LISTS can hold your own Voices OR anyone else’s Voice that’s been marked a FAVORITE.
Dragging a Voice to the TRASH deletes it from your profile.
How do I edit my Voices?
Currently, you can only edit the meta-data (Voice Title, Voice Description, Tags, Soundcloud URL, YouTube URL, Vine URL and Accessibility.) Since it’s so easy to make new Voices, it’s better just to do that!
How do I edit my account?
When you register and are online, you can access and Edit your account to change your BIO and your picture. You can use the same Yamaha MyAccount that you use for the Yamahasynth.com site. To make any changes to your account or your preferences, simply click on the setup “Gear” icon.
 Scroll the bottom portion of the screen to view your other options:
 EFFECT TYPES