I'm just trying to do something simple. I would like to add an organ (8.8.8.8.6.2.2.0.0.2) to CFX Stage and have the Superknob control the volume of the organ with 0 being volume off, and 127 being volume at full.
What I have tried:
Removing all Superknob assignments from both the piano and organ performances.
Opened the CFX Stage piano performance.
Added the organ performance as Part 2
Edited the organ volume to 127,
Pushed the Control Assign button.
Nudged the Superknob
It didn't work. What I got was a low volume of organ at Superknob = 0 and no volume at Superknob = 127.
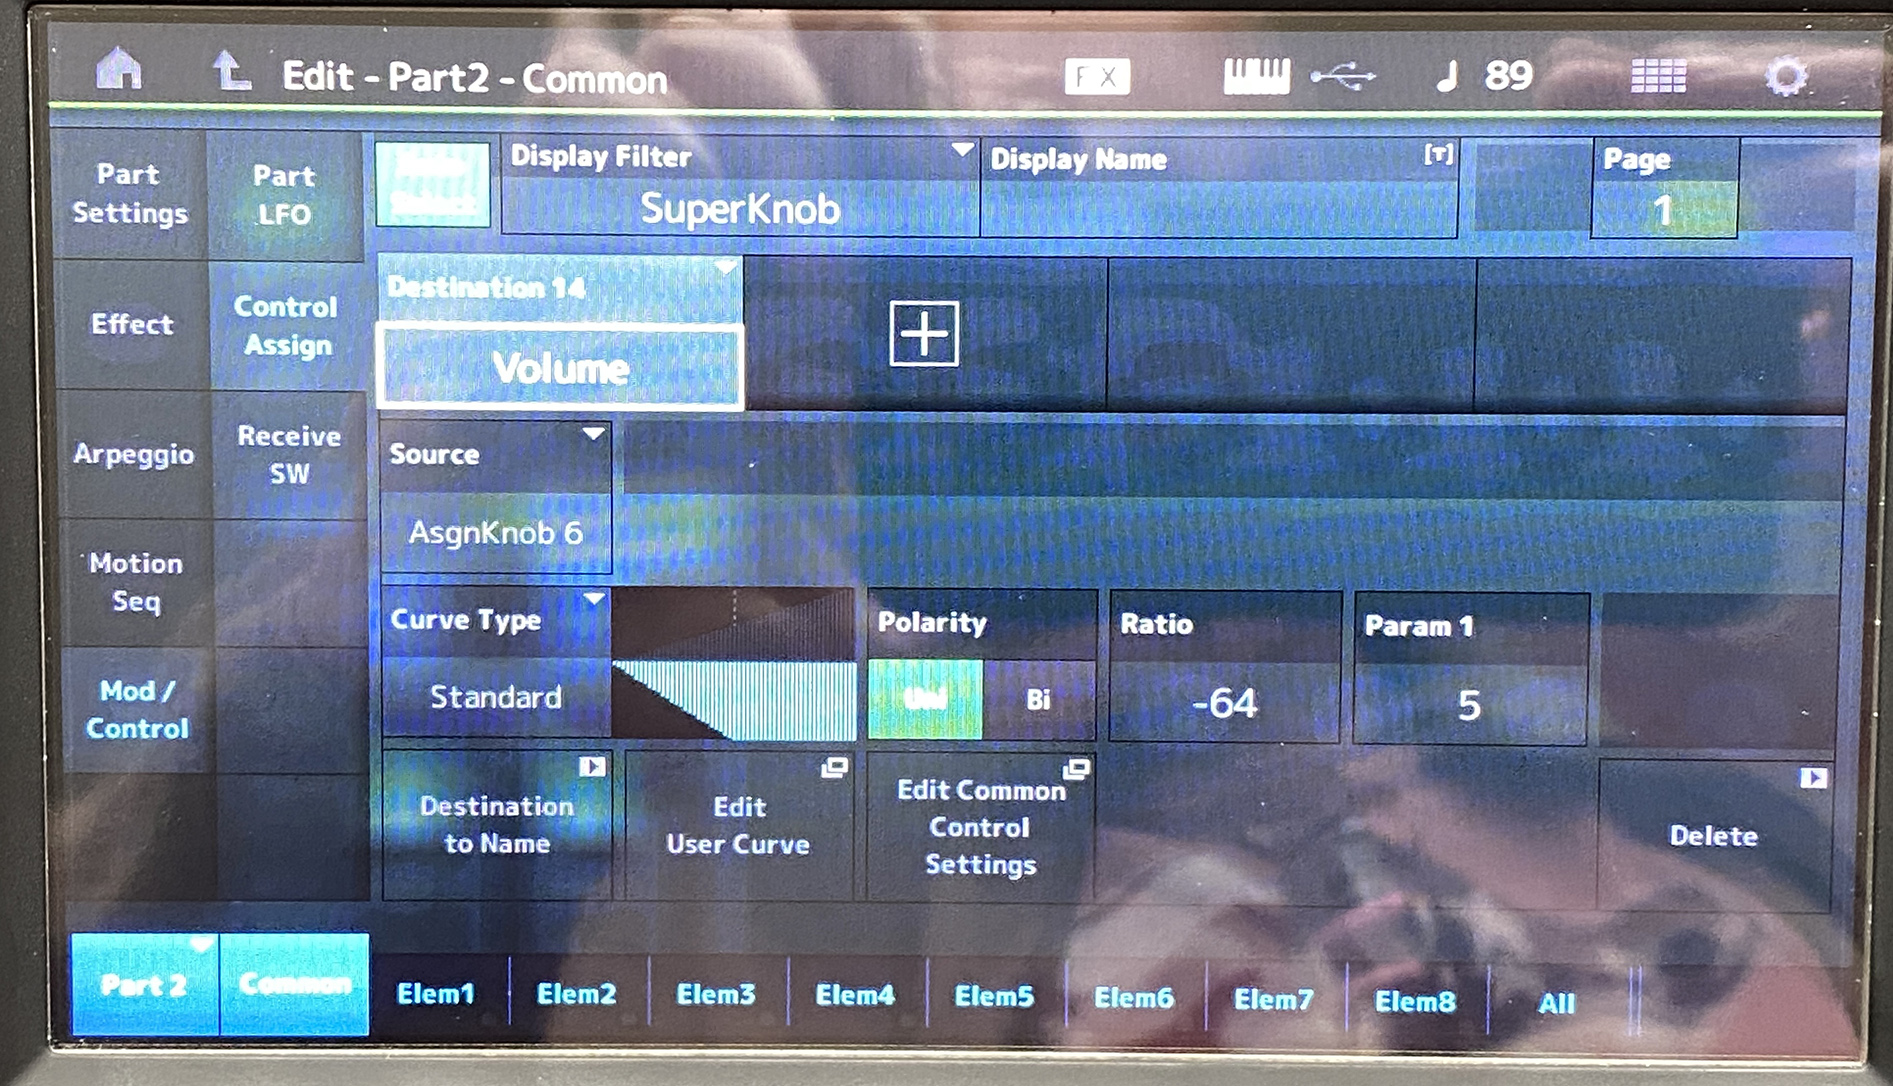
Here's the image of the screen at that point:
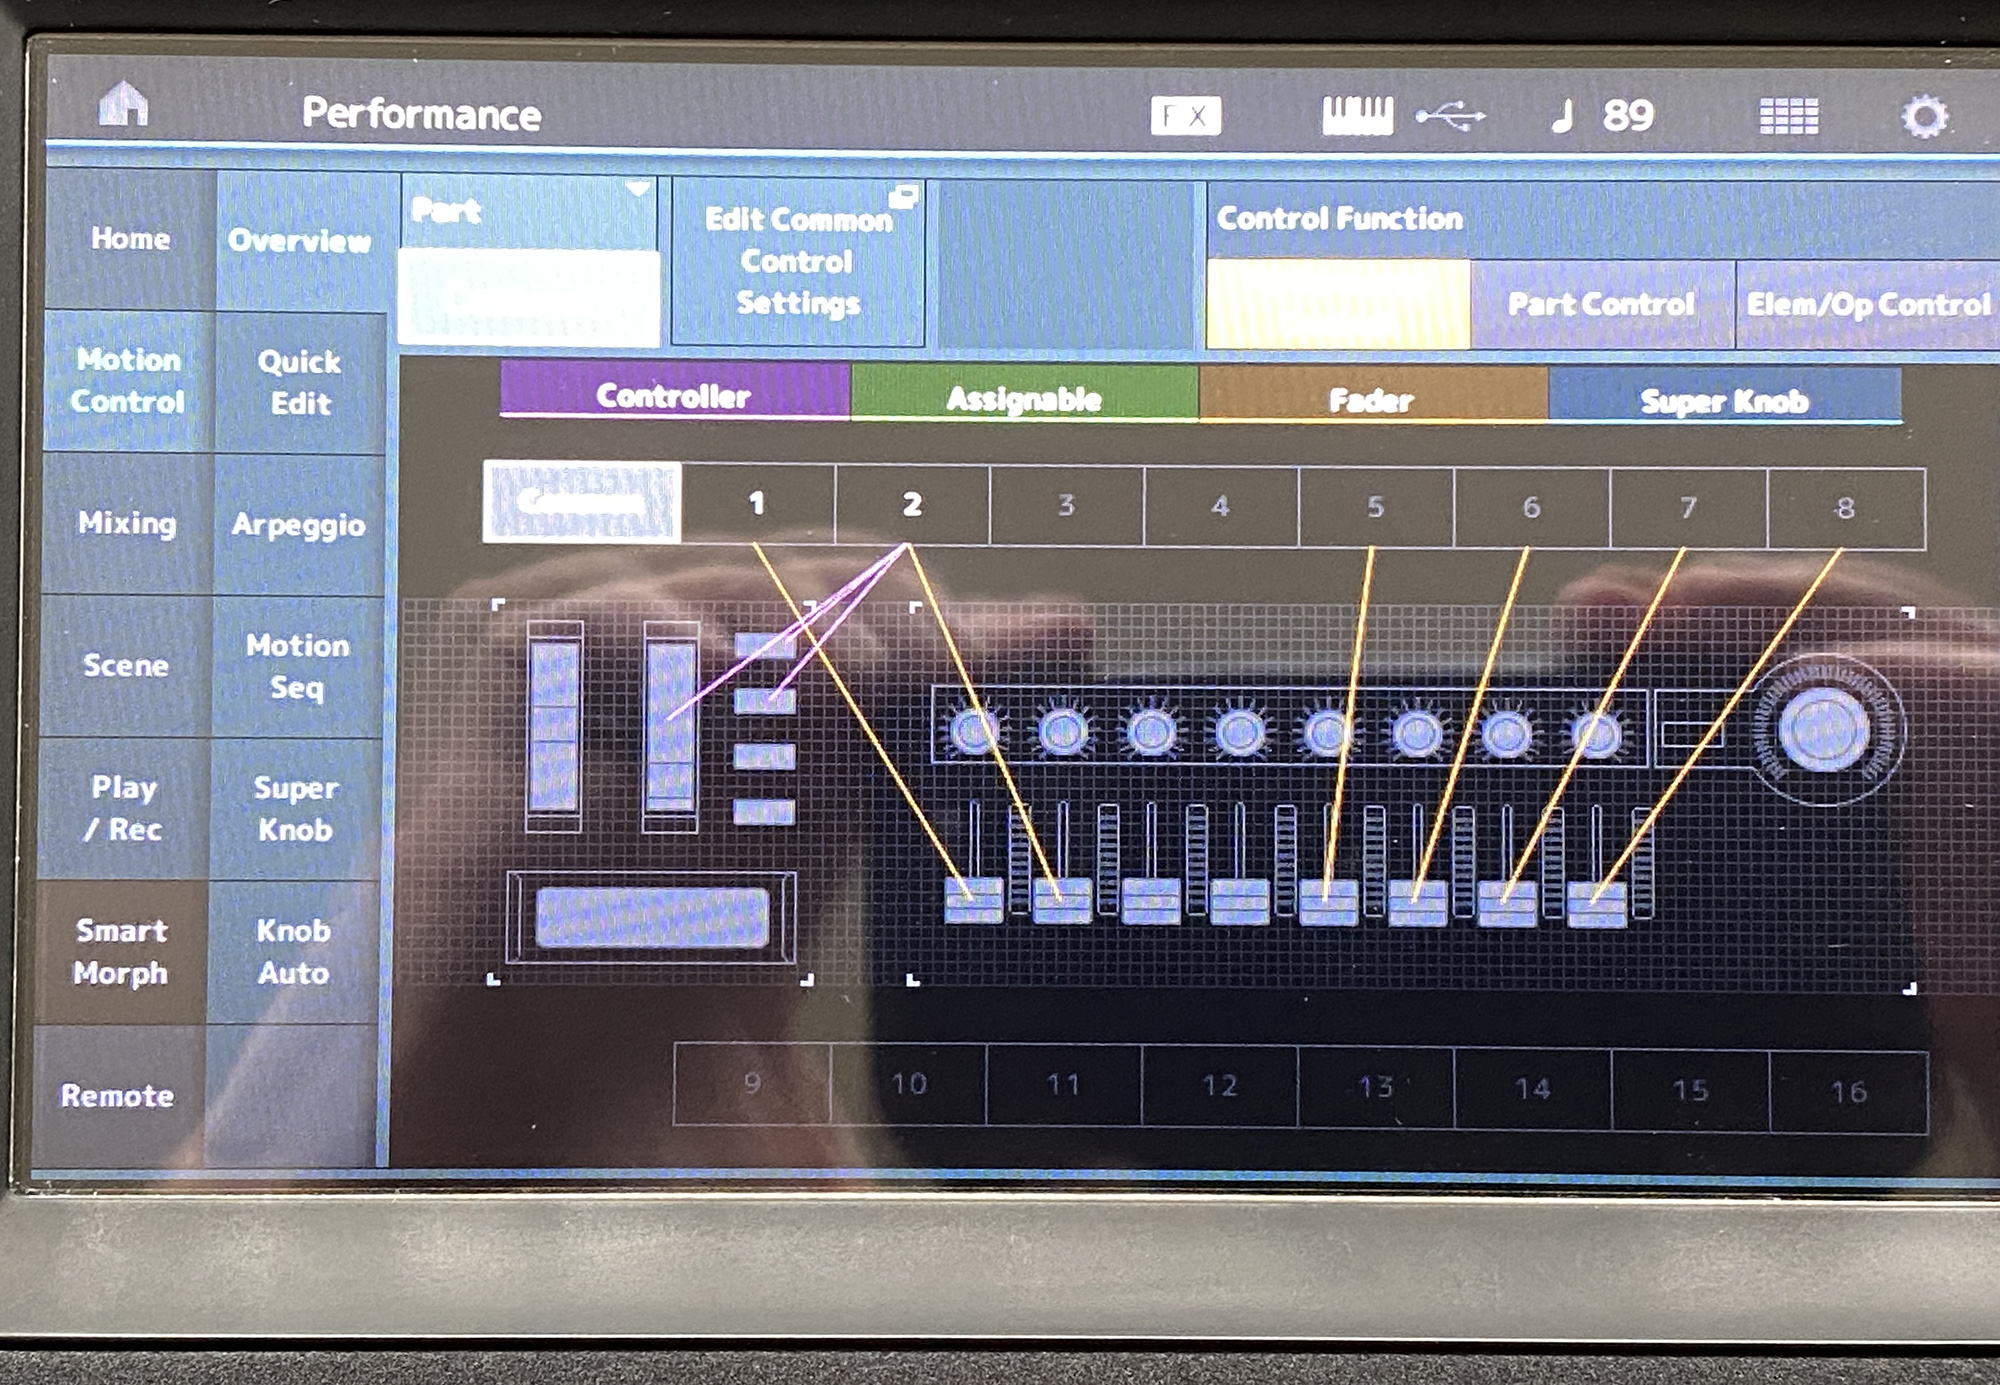
Then I tried assigning volume to a control knob and assigning that control knob to the Superknob. That didn't work either. I tried making the assignments to several different knobs and none of them worked.
Please help, thanks!
Phil
Thanks for the snapshot (marked up below).
The ratio is incorrect for what you're trying to do.

The left side of the graph represents the source controller at a value of 0. Your source controller is superknob. This is full counter clockwise. The right side of the graph is when the source controller is at 127. The middle vertical line shows the source controller at 64.
Up and down the graph is the amount of offset to the destination parameter. Your destination parameter is Part Volume. So this means (for what you've pictured here) that when superknob=0 there is no offset. So volume will be whatever the programmed value is. And when superknob=127, there's a maximum negative offset (subtraction) vs the programmed volume. This does the opposite of what you say you want. You need a positive ratio - not a negative one - to make superknob = 127 achieve the highest value and superknob=0 achieve the lowest.
Now, you also have consider the programmed value. If the programmed value is 127 then you cannot ADD to this to offset. When changing the ratio to positive, also make sure the programmed value of Part volume is 0. This way no offset (superknob full counter clockwise) will achieve volume=0 and full clockwise will be the maximum ADD.
There's other options. You can set the polarity to bipolar. This will have "half" of the graph subtract and "half" add. Make sure the left side of the graph is the maximum negative (subtract) and right side is maximum positive (add).
I would use unipolar myself.
Once you get rid of assignments for a controller - you're not going to find any more. I trust you have this part of the equation tackled in your first post.
Current Yamaha Synthesizers: Montage Classic 7, Motif XF6, S90XS, MO6, EX5R
Jason, I agree and saw this problem with the inverted curve. However, I tried going Bi and even tried changing the ratio to make the curve go the other way, but it had either no effect or I got no volume at all out of the organ. Is there any way I can invert the Superknob values and actually reverse the direction so volume = 0 to 127?
Phil
@Phil
Here are my tips. This is a take it or leave it method. IMO it will get you there quicker, and allow for a smoother learning curve. However, these forums are strewn with posts, like yours, where users have run into exactly the same problems you are experiencing.
The basis of my tip is Delete ALL Control Assigns, then rebuild them to your exact requirements.
The two main problems users face are:-
1) The Control Assign functions (Mod Matrix) are powerful, but also very complex. There is no single cohesive section of the Manuals that describes it. Instead, Control Assign Knowledge is scattered and embedded across many other non-specific sections. Therefore it is difficult to gain a full working knowledge of Control Assigns, without reading ALL of the Manual Sections.
2) Selecting Factory Patches, and/or swapping/adding Parts will ALWAYS bring with them dozens of "clever' Assigns, as well as many deactivated/redundant Assigns.
This presents you with the common problem that your custom Control Assign does not work as expected, if at all.
99% of the time, this is because the parameter you are trying to control is already assigned somewhere else, to something else. This is why I choose to "blanket" delete ALL Assigns, and then build only the ones I will need.
First - STORE/Rename your Performance with Suffix "Ver1". Then immediately
STORE/Rename your Performance again with Suffix "Ver2". Your "Ver1" will provide a back reference if you need it.
HOW TO DELETE ALL CONTROL ASSIGNS
PER PART>>
1) Go To:-
[PERFORMANCE (HOME)] [EDIT] Part selection Element [Common] [Mod/Control] [Control Assign]
2) In the top left of the Screen, make sure Auto Select is off (Grey)
3) In the top left of the screen, click on "Display Filter" box to get a drop-down Menu. In that Menu select "ALL".
4) All Control Assign Destinations for that Part will now be displayed in the centre of the screen. There are 4 Destinations per Page. NOTE:- The "Page Select" box in the top Right of the screen, there may be up to 4 Pages (4 × 4 pages = 16 Assigns).
5) Page 1 will show Destination 1, Destination 2, 3 & 4. Page 2 is 5, 6, 7 & 8 etc.
6) On Page 1, select Destination 1, and click the DELETE box in the lower right hand side of the screen. Keep pressing the DELETE button until all Control Assigns are deleted from that PART.
7) Repeat for PART 2, PART 3 etc.
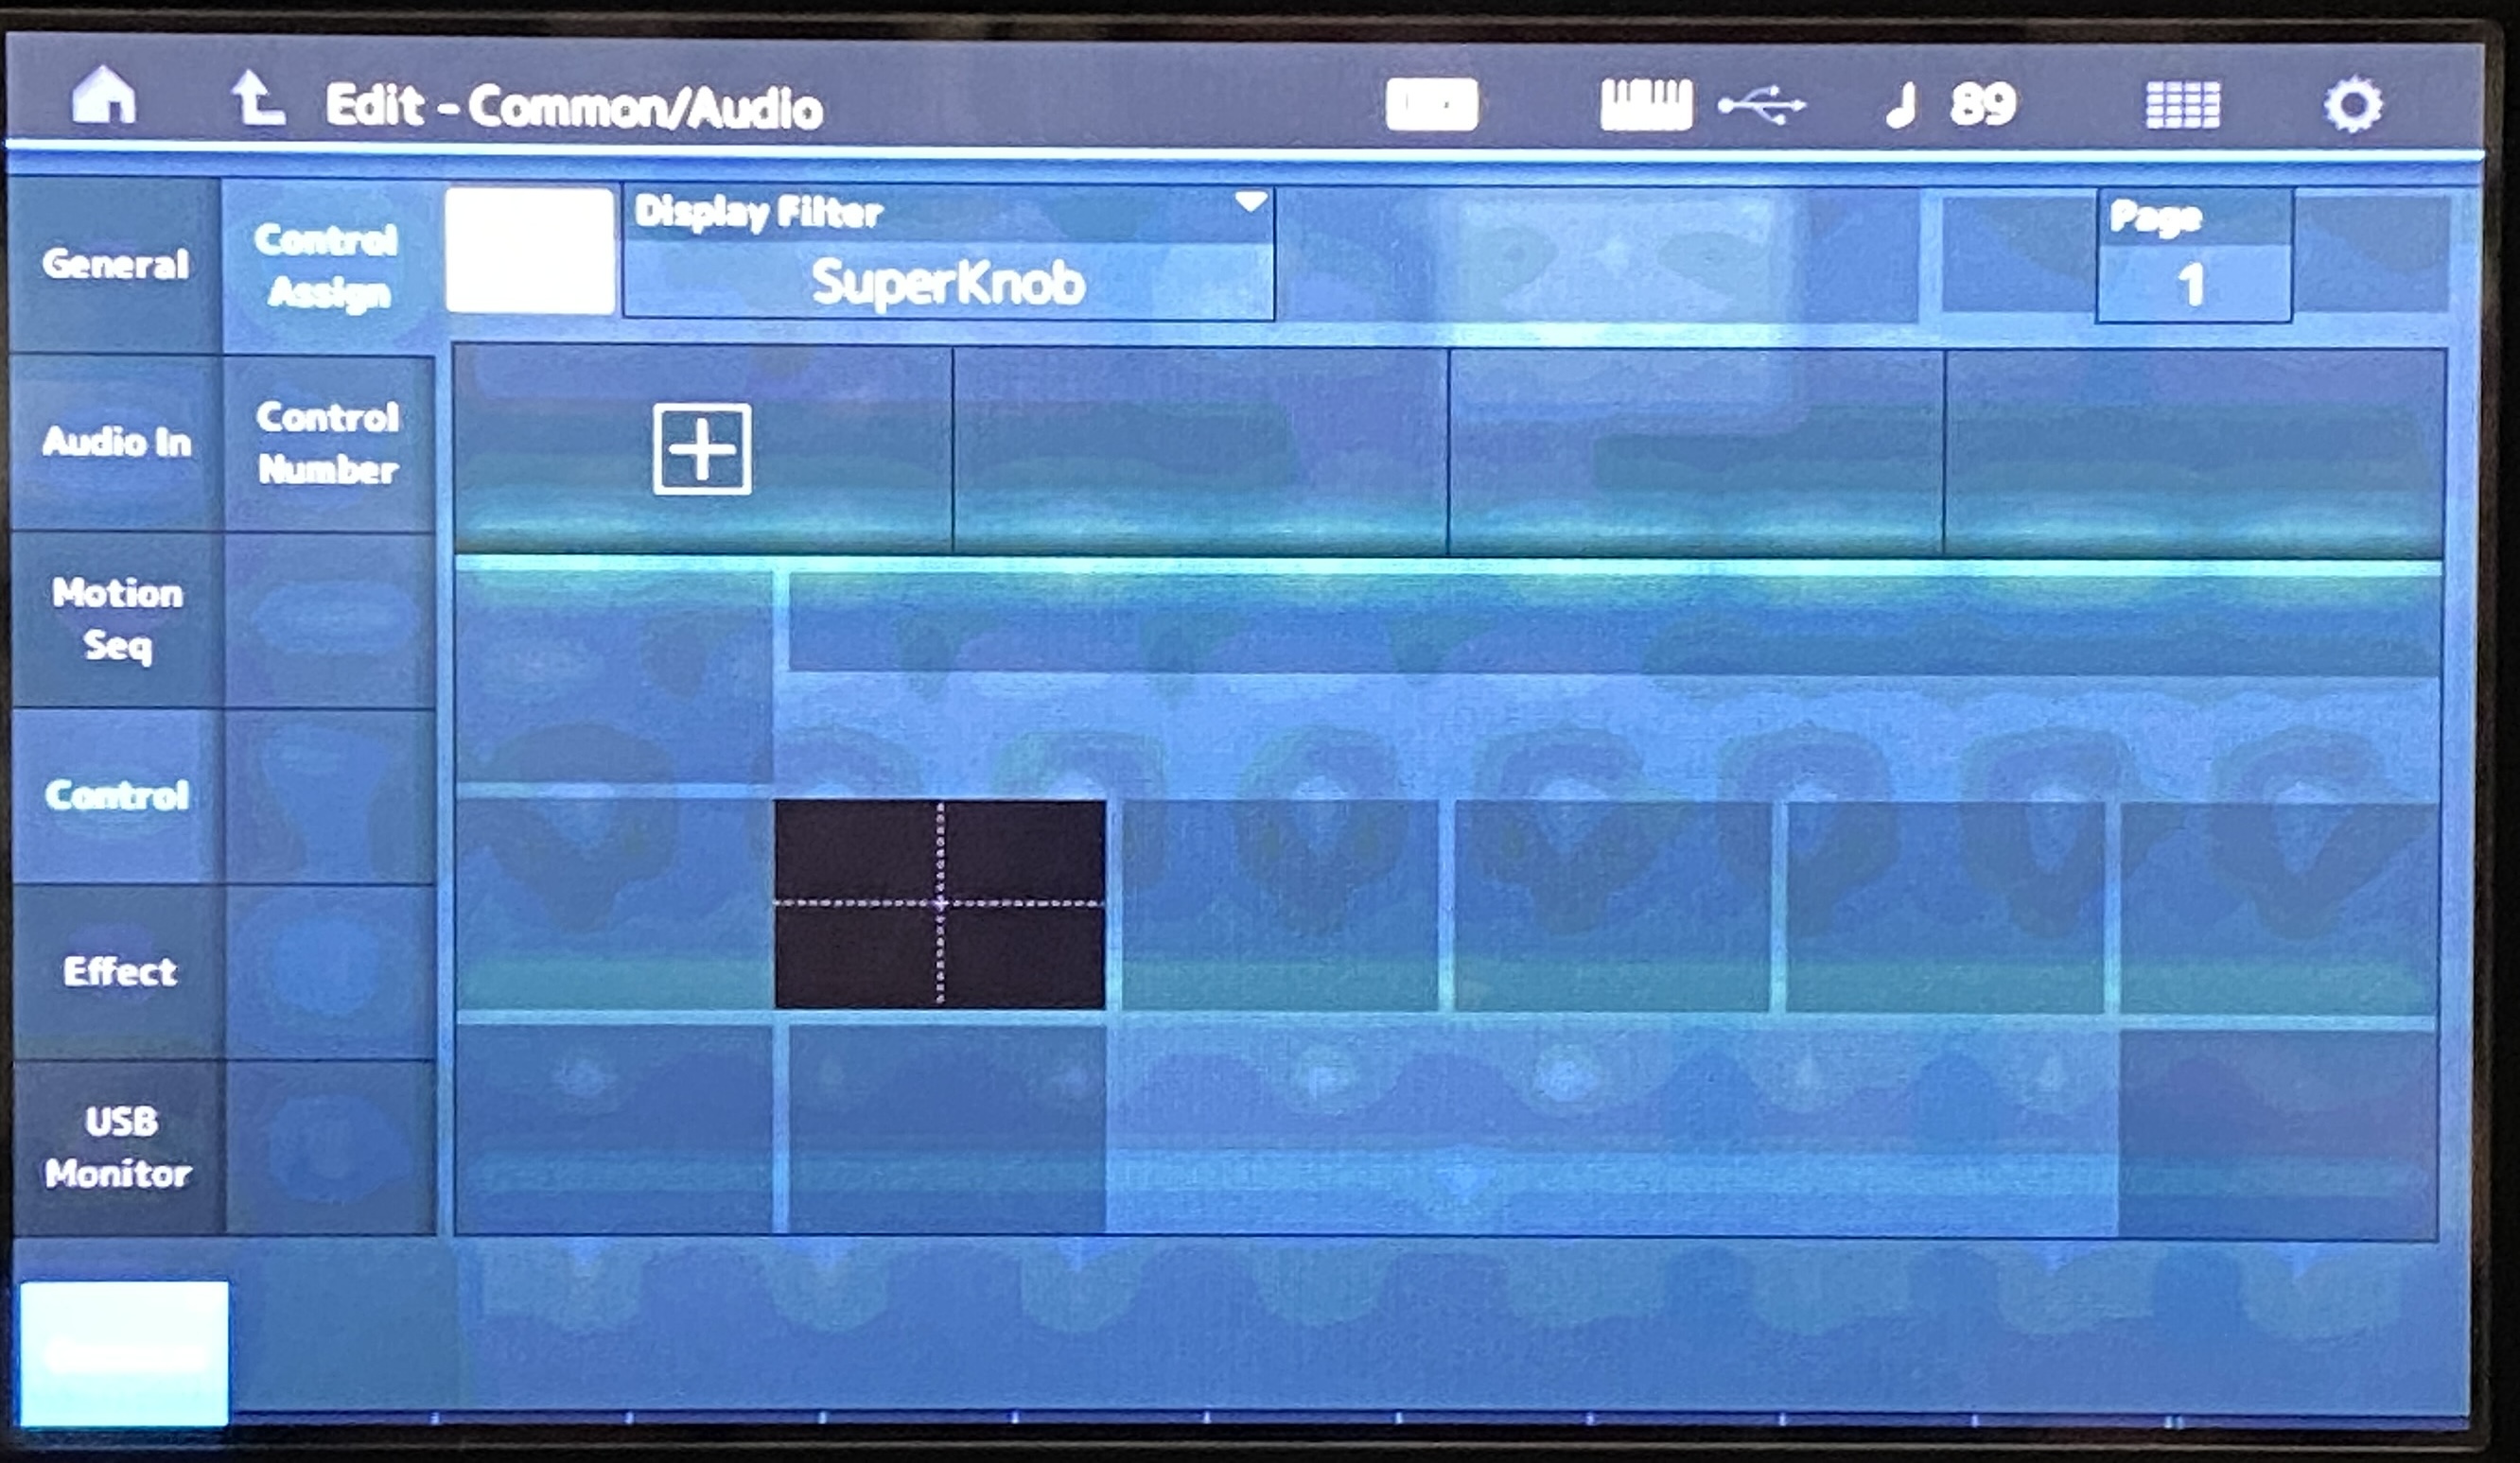
PER PERFORMANCE (COMMON/AUDIO)>>
1) Go To:-
[PERFORMANCE (HOME)] [EDIT] [Control] [Control Assign]
2) Make sure Auto Select is OFF.
3) Set Display Filter to ALL
4) DELETE each Destination
Well Done! You now have a "Clean" Performance without any BS Assigns to give you a nervous breakdown.
Now what? Now you can build your own Control Assigns with a 100% probability they will work. However, that of course means you need to know how to build them... so start reading the Reference Manual. You will find a "Control Assign" sections in each of AWM2 Edit, FM-X Edit, DRUM Edit and COMMON/AUDIO Edit.
For the Super Knob to work you must:-
1) Make a Control Assign to the PART level parameter (AWM2, FM-X etc)
2) Make a "Common" Control Assign at the Common/Audio Level, linking to the PART Level Control Assign in 1).
3) Assign (Link) the SuperKnob to the "Common" Control Assign made in 2).
The Super Knob can control multiple "Common Assigns", but it cannot directly control "PART Assigns". That is why you must follow these steps 1), 2) & 3).
Good Luck!
BTW: just so you know, sources don't get tied up. So you're not concerned about "clearing" the Superknob (a source controller). What you want to do is look at the destinations for Volume and clear those out to avoid conflicts or take the source and set it to the "0" position - whatever its curve dictates would be the 0 offset position of that source controller.
So the general rundown is to set the filter to "All" so you see all (up to 16) destinations and run through those looking for the parameter you're interested in. Volume in this case.
Current Yamaha Synthesizers: Montage Classic 7, Motif XF6, S90XS, MO6, EX5R
1) Press [CATEGORY SEARCH], touch "CFX Stage", press [ENTER]
2) Performance merge, press Part 2 [+] button then select "8.8.8.8.6.2.2.0.0.2" Performance and pres [ENTER] which merges the organ into Part 2
3) Touch Part 2, select "Edit"
4) Touch (Common) "Mod/Control" -> "Control Assign" menu
5) Display Filter: touch and set to "All"
6) Notice Destination 13 is "Volume". Touch "Volume" and you see the source controller is "AssignSw 1". This is just
a slight boost and is normally an offset of 0 (by default, because when the switch is off there is no offset - and the switch defaults as off). Deleting this destination is optional. I'm not going to delete it.
Despite the warnings about the "ghost in the machine syndrome" of the control matrix -- this particular example does not exhibit this "problem". There's nothing forcing volume to an extreme value that overrides anything else. Sometimes this is the case -- but not here.
7) Touch menu "Part Settings" -> "General" and change the "Volume" parameter to 0.
8) While "Volume" is selected (white box around it) - press the [CONTROL ASSIGN] button then spin Super Knob
9) Destination 14's curve is off, so set the ratio to +32 for now. No other changes here.
Now the organ part is controlled by superknob. I didn't delete any assignments.
... that doesn't mean there isn't more clean up you may want to do. The organ sitting in the CFX piano's effects sounds like the system effects are wrong for the organ sitting here. However, still the Super Knob volume is fully functional.
To "fix" the organ I would start by touching on Part 2, editing the (Common) "Part Settings" -> "General" menu "Dry Level" and change from 0 to 127.
... also, Part 1 (the Piano) uses superknob to change the room so now you're using superknob for volume you may or may not want your piano to change its reverb. You may want to remove Part 1's (the CFX Stage) destination 9 and 10 (Delete) which will remove Rev Send and Var Send destinations. They won't change the "room" effect now.
If you want the effects to better sit with the organ - start with the Organ first and then Performance merge in "CFX Stage" and follow everything the same except change "Part 2" with "Part 1" (you'll be editing Part 1 now - the organ is there). And delete the CFX's destinations (optionally) from Part 2.
I outlined steps 1-9 to show my complete process from start to finish along with a sanity check step that wasn't needed in this case - but still generally good to accomplish. Steps 1-3 are just merging the two raw Performances. Steps 4-6 are not needed in this case but still good practice. And steps 7-9 assign the Super Knob control of organ volume. So that's 6 steps total start to finish to accomplish the task.
Current Yamaha Synthesizers: Montage Classic 7, Motif XF6, S90XS, MO6, EX5R
@Phil
the easy way. You are very close to right in what you were doing... just ratios a bit wonky due to how Yamaha OS "thinks" for you...
Change that ratio of -64 to +32
Put Sliders into Part Mode or tap that Volume area on the Part's View (they tend to go into element mode when loading Organs) and set Volume of Organ to 0 by screen or Slider
DADA!!!
Time for a drink!
Thank you all for your assistance! With your help I was able to delete more control assigns and was finally able to control the volume of the organ with the Superknob while still keeping the rotary speaker working on the mod wheel. I used it at church yesterday and it worked beautifully. Definitely a unique patch.
Thanks again!
Phil
As demonstrated by these steps (starting from scratch):
Performance merge 2 parts together (detail) ...
1) Press [CATEGORY SEARCH], touch "CFX Stage", press [ENTER]
2) Performance merge, press Part 2 [+] button then select "8.8.8.8.6.2.2.0.0.2" Performance and press [ENTER] which merges the organ into Part 2
Volume control by Super knob steps ...
3) Touch Part 2, select "Edit"
4) Touch menu "Part Settings" -> "General" and change the "Volume" parameter to 0.
5) While "Volume" is selected (white box around it) - press the [CONTROL ASSIGN] button then spin Super Knob
6) Destination 14's curve is off, so set the ratio to +32. No other changes here.
... deleting control assigns for this particular goal and these merged Performances is not necessary to achieve full volume control of the organ using Super Knob.
At any rate - glad you arrived at a plateau of a custom Performance that's doing what you want. Hopefully learned the right things along the way or at least enough to build upon for the next time.
Current Yamaha Synthesizers: Montage Classic 7, Motif XF6, S90XS, MO6, EX5R


