You can load program change names into Cubase using the common XML file format. If you have a YC61 and want to select the Preset Live Set Sounds by name from Cubase, this article is for you!
Grab the YC61 XML file here and follow the installation instruction below.
Installation Guide for Yamaha YC61
1. Download the .XML file named: Yamaha YC61.xml
2. Start Cubase AI/Cubase on your computer.
3. Click [Studio] menu, More Options → [MIDI Device Manager]:
4. Click [Import Setup] and open ” Yamaha YC61.xml ” file.
5. Click [OK] to close Import window.
6. After selecting “Yamaha YC61” in the “Installed Devices” area of the MIDI Device Manager window, set the output to “YC Series Port 1” at the lower part of the window, and then close the window.
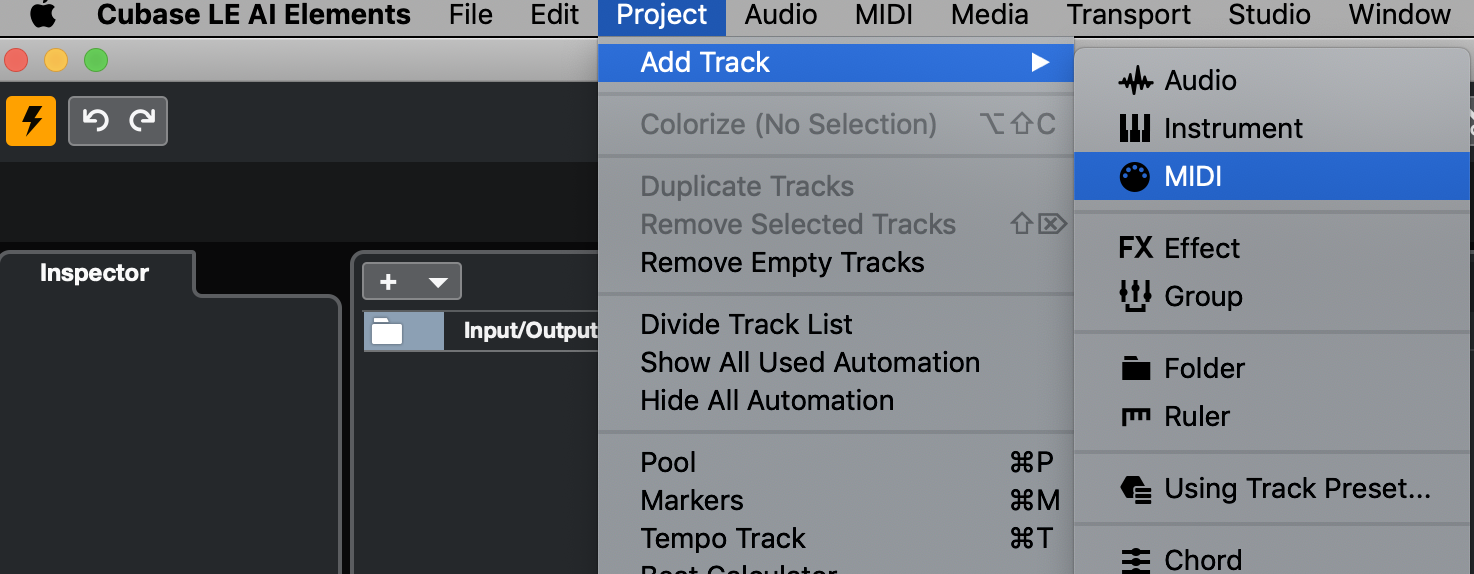
7. Click on the Project Menu and “Add Track” to create a MIDI track.

8. Set the Input Routing to “All MIDI Inputs” and set the Output Routing to “Yamaha YC61 (YC Series Port1)”.
9. Click within the Program Selector to call up the “YC61 Live Set Sounds” List, then select the desired LIVE SET.
That’s it! Having access to all the YC61 Preset Live Sets within the Cubase Inspector zone is a nice workflow enhancement. If you like this workflow within Cubase, this enhancement is for you!
So, say you want to make your own Live Set list with your own Live Set names. How do you do that? In one of my next articles “Mastering YC: Creating Custom YC61 XML files”, I’ll provide you with an easy-to-use template and will show you how to create your own XML file for your YC61.