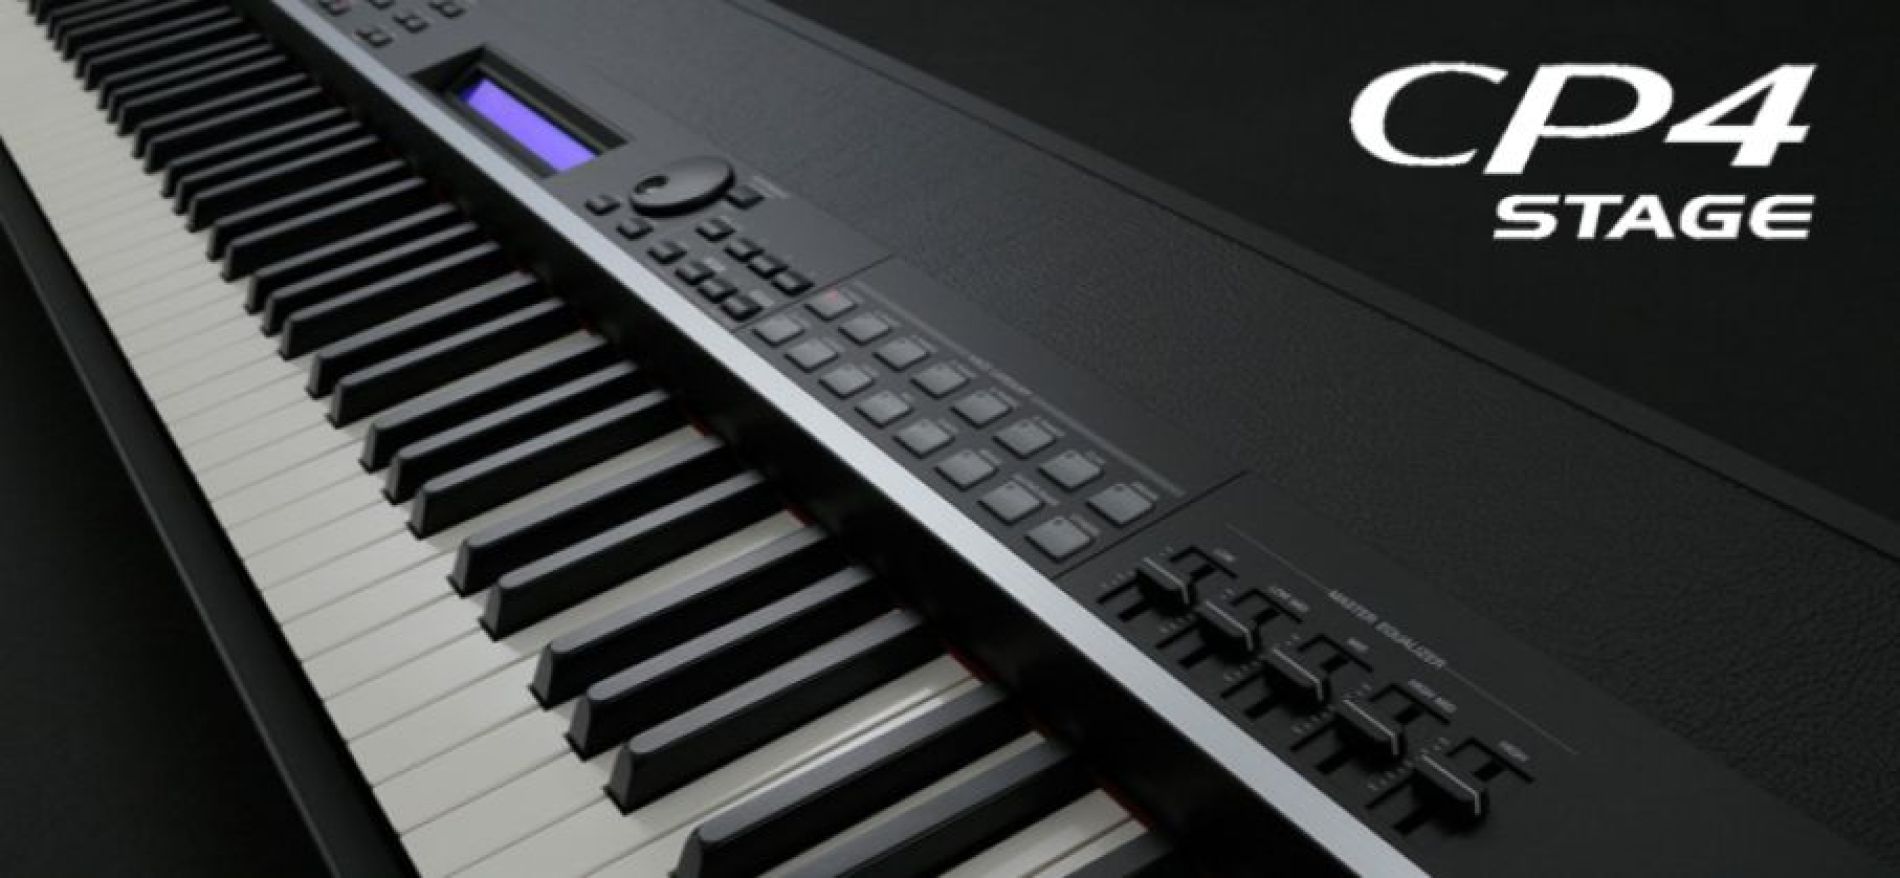
Editing and Creating Performances in the CP4


In Part two of my tutorial I go through the process of editing 4 different performances and saving them for instant recall:   1.  “My CFX”:  A custom edit of the CFX piano where I have changed things like the reverb settings, insertion effect and key-off sound.2.  “CF Layer”: A basic piano and string layer […]

Tagged Under

In Part two of my tutorial I go through the process of editing 4 different performances and saving them for instant recall:  

1.  “My CFX”:  A custom edit of the CFX piano where I have changed things like the reverb settings, insertion effect and key-off sound.
2.  “CF Layer”: A basic piano and string layer with the CFIIIS piano in the A.PIANO2 category.
3.  “My Mark II”:  A custom edit of the “75Rd I” piano where I change the key-off and strike position, or the relationship between the virtual “pickup” to “tine” of the electric piano.
4.  “L-Pad/R-Ld”:  A fairly involved split voice with a synth pad in the left, monophonic synth lead in the right and edits to things like the filter, controller assignments, octave transpose, portomento, and effects.  

Think of this as a master class for the CP4.  This is for people who want to really get the most out of the CP4 and effectively utilize the performance mode to recall custom voice changes that will truly personalize the instrument for YOUR music.  I move fairly quickly but remember:  You can always pause the video if you need to.  Thanks for watching, and check it out below:


Keep Reading


© 2024 Yamaha Corporation of America and Yamaha Corporation. All rights reserved.    Terms of Use | Privacy Policy | Contact Us