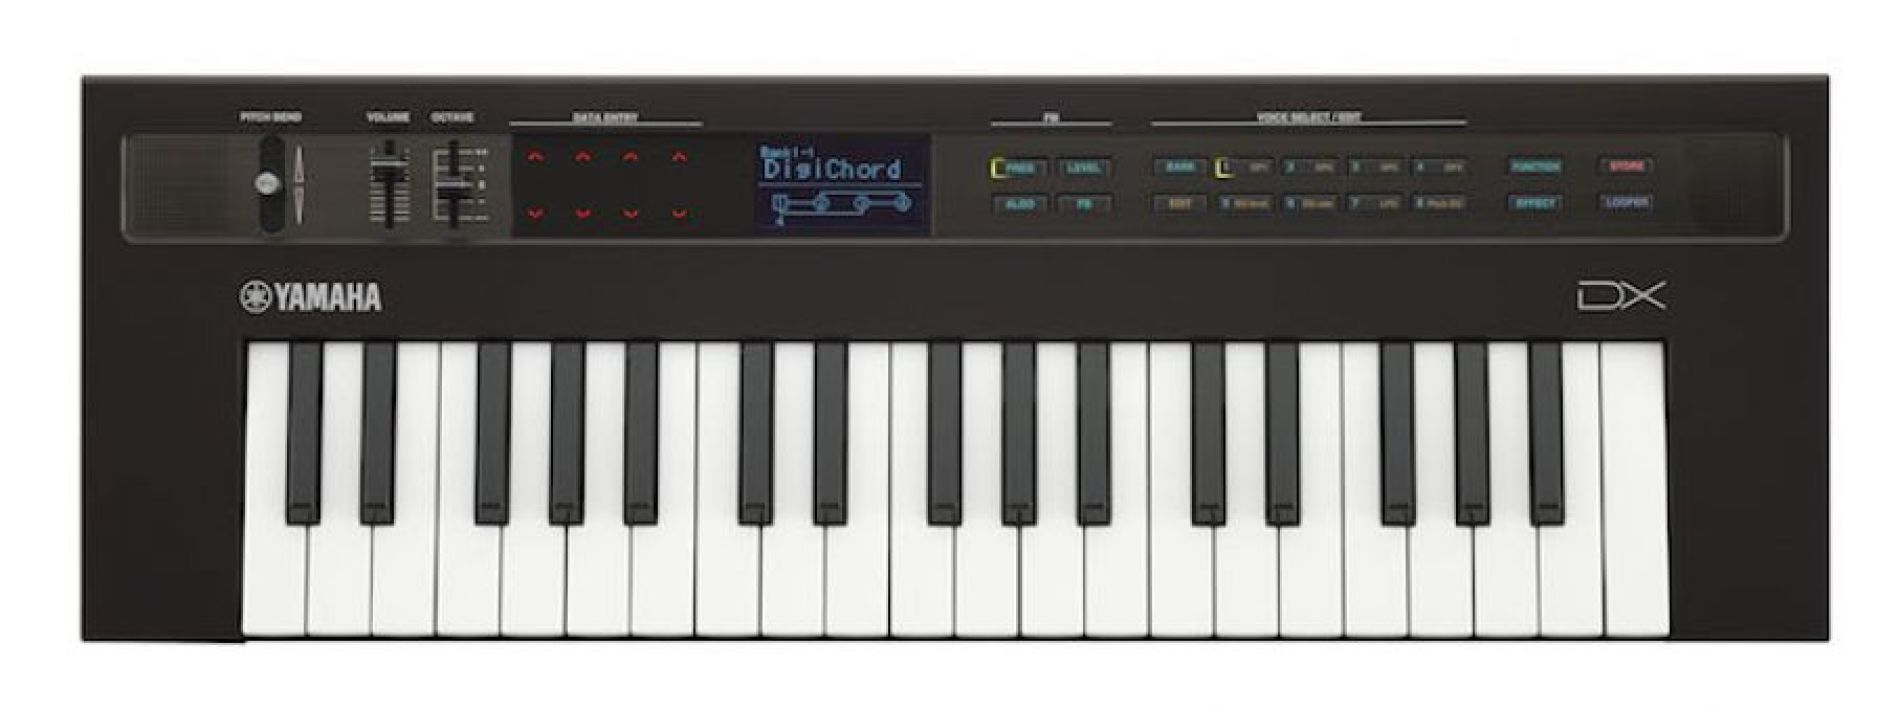
With the MIDI CONTROL set to ON, the reface DX will generate/receive Control Change messages from many of its key parameters. This makes sense from both a performing and programming standpoint. If you are using your reface DX as a sound source, recording to your favorite DAW, you can use the ability to draw in controllers to make sonic changes. The real-time controllable parameters include:
Algorithm – there are 12 of these configurations of Modulators and Carriers. An algorithm is like a basic framework (recipe) in which the Operators relate to each other. The fact that each Operator is programmed independently and each Operator has its own EG, means by simply changing the algorithm you can change the role an Operator plays in the resulting sound. An Operator that was a Modulator (influencer) in one Algorithm, may become an audible Carrier in another and/or vice versa.
cc80
Operator Output Level – the Output Level will change the amount of influence one Operator has on another or itself, or will change the resulting volume output of the final sound. In a situation where all Operators are Carriers (audible) the Output Level will be understood as acting like the “drawbars” on a tone wheel organ. In a situation where an Operator is a Modulator, changing its output level will change the resulting timbre of the Operator it is influening.
Op1 = cc85
Op2 = cc102
Op3 = cc108
Op4 = cc114
Operator Feedback Level – the Output Level of an Operator can be fed back to its own input creating a Feedback Loop. This can be used to create more complex waveshapes without the need for a stack of Operators acting as Modulators. So a movement in Feedback Level will sound like timbre change. The roll of the Filter in an analog (subtractive) synthesis system would be timbre change, while this is roughly what it going on, the result will be quite a bit different. While a Low Pass (analog) Filter is removing high harmonics to affect timbre change, changing the Feedback Level will be more about changing the nature and relationships of the audible harmonics.
Op1 = cc86
Op2 = cc103
Op3 = cc109
Op4 = cc115
Operator Feedback Type – the Feedback Type can be toward the Sawtooth wave family (where all harmonics are represented) or toward the Square wave (pulse) family (where certain harmonics are missing according to the current pulse width ratio). Harmonics are whole integer multiples of the Fundamental pitch. If the original pitch (or Fundamental) is A110, then the whole integer multiples would be A220, E330, A440, C#550, E660, etc, etc. creating a sawtooth type waveform. If the original pitch is again A110 a square wave would produce just odd numbered harmonics – every other harmonic. As the pulse width narrows (the tone gets more pinched/nasal) the missing harmonics change accordingly… when the ON:OFF of the Pulse width extends to 1:3, 1:4 and so on every third and then every fourth harmonic would be missing. So real time control can be used to select the type of harmonic content you are controlling with the Feedback Level parameter.
Op1 = cc87
Op2 = cc104
Op3 = cc110
Op4 = cc116
Operator Frequency Mode – the Operator’s Frequency can be expressed in terms of a Ratio or it can be Fixed to a specific frequency. To understand “Ratio” is to understand musical harmonics. One Operator generating a Sine Wave: At Ratio = 1.00 the key you strike will play a sine wave at the Fundamental pitch. If you Coarse tune the Frequency Ratio to 2.00 the key you strike will play a sine wave at the second harmonic (one octave above the fundamental). If you Coarse tune the Frequency Ratio to 3.00, the key you strike will play a sine wave at the third harmonic (one octave and musical fifth above the fundamental), and so on. To understand “Fixed” is fairly easy – the Operator will create a specific pitch between 1.000Hz and 9,772Hz – and all keys reproduce that frequency. A Fixed Frequency of 1.000Hz is not heard as a musical tone, and 9772Hz is more than an octave above the highest note on the piano (4186.01Hz)
Op1 = cc88
Op2 = cc105
Op3 = cc111
Op4 = cc117
Operator Frequency Ratio (Coarse tune) – The reface DX can reproduce the first 31 harmonics (plus they throw in the SubHarmonic at 0.500
Op1 = cc89
Op2 = cc106
Op3 = cc112
Op4 = cc118
Operator Frequency Ratio (Fine tune) – all the values between x.00 and y.00 fall inbetween the whole integer multiples – and therefore will have an entirely different relationship to our music. Some will just sound like horribly wrong, some will remind you of clangorous bell tones, some will have a pleasing effect others, not so much. Fine tuning will increase the possibility of frequency “beating” as it plays along side other Operators. Even in the role of a Modulator detuning the Frequency will have a profound affect on the resulting timbre. As a Carrier detuning can play tricks on our ears and give us some wonderful ‘aural illusions’ (you know about ‘optical illusions’, where your eyes get fooled – aural illusions are those that happen for your ears!)
Op1 = cc90
Op2 = cc107
Op3 = cc113
Op4 = cc119
POSSIBLITITIES
Many DAW programs, like Cubase, allow you to create automation by generating control data. In many cases you can use a controller or simply “draw” the controllers into a track. Each of the above parameters is available (MIDI CONTROL set to ON). Each of the parameters above has an assigned CC (Control Change) number allowing indivdual Operator control, except the Algorithm parameter which, when changed, affects all Operators together.
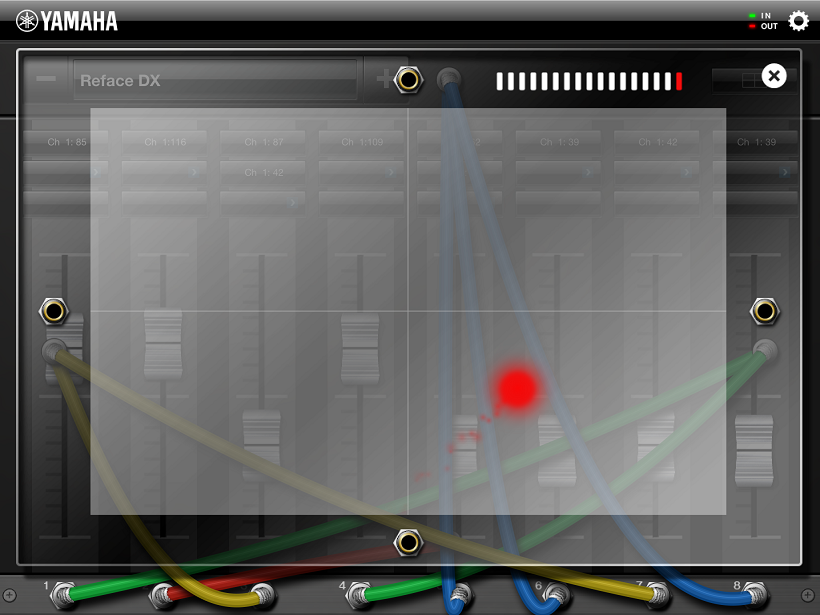
 You can use an iOS App like Yamaha’s “Faders & Pad” (shown at left) to assign Control Change numbers to sliders and use the zero-gravity “gravity ball” to alter the sound in real time. Assigning Control Sliders is easy – you simply press the “LEARN” button, and move your finger on the reface DX’s Data Entry touch pad, and you’ve assigned that parameter to the Fader. You can set a MAX and MIN by simply having the App “learn” how far you want it to control a parameter (you don’t want to send a modulated 9772Hz Waveform flying around the room unnecessarily – your dog will move out!).
The beautiful thing here is, you don’t have to know what exactly is going to happen, in fact, exploring what does happen is half the fun. Get an idea, try it! Or use it for practical purposes. Assign the Faders and use them directly, with out the gravity ball. Make one of them your Moduation Wheel, and setup others to control Output Levels and control timbre change in specific ways!
Got a cool idea about using control change with your reface DX? Got questions about this resource? Let us know here in the forum!

 You can use an iOS App like Yamaha’s “Faders & Pad” (shown at left) to assign Control Change numbers to sliders and use the zero-gravity “gravity ball” to alter the sound in real time. Assigning Control Sliders is easy – you simply press the “LEARN” button, and move your finger on the reface DX’s Data Entry touch pad, and you’ve assigned that parameter to the Fader. You can set a MAX and MIN by simply having the App “learn” how far you want it to control a parameter (you don’t want to send a modulated 9772Hz Waveform flying around the room unnecessarily – your dog will move out!).