

Back in 1998 Phil put together a cool product guide for the EX5 (we called them “Power Users” back in the day). This one covers the basics of the EX5. It is presented to you in three parts. Below is Part I. The link to Part II is at the bottom of the page. Check out this blast from the past below!
EX Navigation
Getting around the EX is easy. The main modes and controls are to the left of the screen, while the various data entry and Voice select buttons are on the right of the screen. Under the screen are 8 ‘soft’ buttons [F1]-[F8]. These function buttons select parameters directly above them in the screen. To the left of the 8 function buttons is the [SHIFT] button. When you see a small inverse video “s” in the lower left-hand corner of the screen, this signifies that pressing and holding the [SHIFT] button will reveal a shortcut to other destinations. Just to the right of the 8 function buttons is the very important [EXIT] button. This will always back out of an edit mode screen, returning you to the previous screen. Directly below the function buttons are 6 knobs. The knobs do double duty. When you are on the main Voice Play or main Performance Play screens the [KNOB MODE] button is illuminated indicating that the Knobs are functioning as real time controllers according to their assignment in the current sound. When you enter [EDIT] mode the [KNOB MODE] indicator goes out, this means the knobs will now function as data entry. As you move the cursor to the different lines of the screen you will notice small inverse video numbers appear to the left of a parameter value. These numbers indicate which control knob will directly edit that parameter. See screen below for an example:
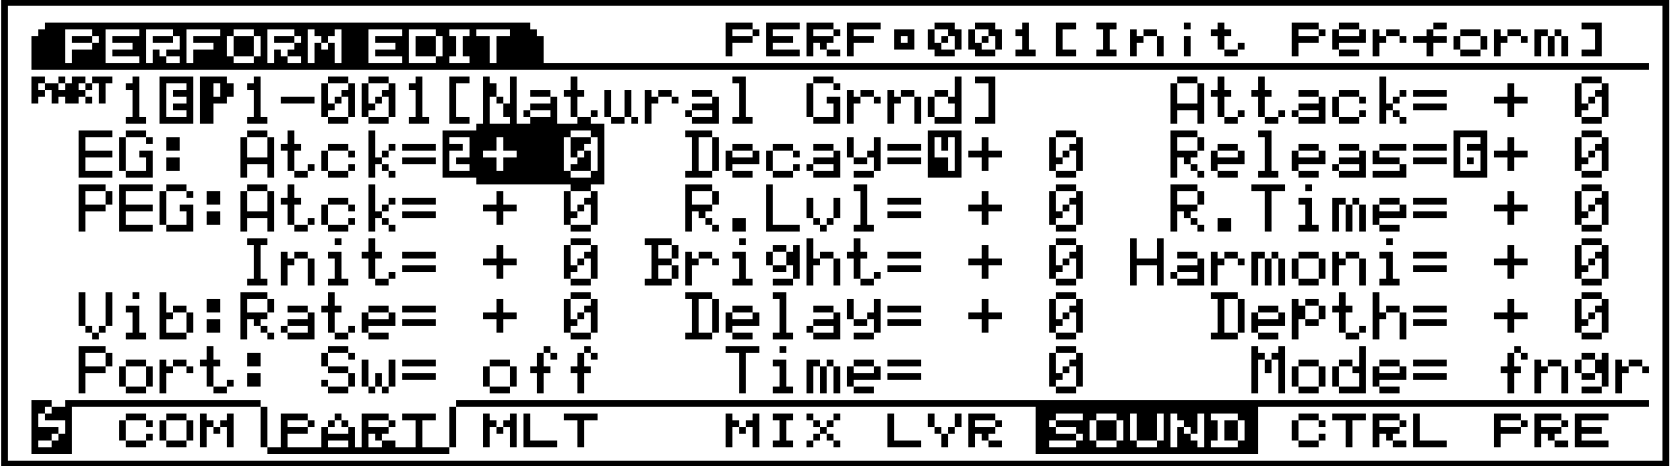
In the screen shot above, Performance Edit is selected. Notice the “tab” around the word Part on the bottom line of the screen. The type of screen you are viewing is always indicated in the upper left-hand corner by the inverse video tab. This Part screen has 5 sub screens: Mix, Layer, Sound (the current view), Controllers, and Presetter. The cursor is currently located on a line of the screen where knobs 2, 4 and 6 will edit the Envelope Generator (EG) Attack, Decay and Release parameters, directly. EG Attack is selected. If you grab knob 6 the cursor will immediately jump to the Release parameter. This saves having to cursor to the right. Let’s look at another edit screen as an example of navigation:
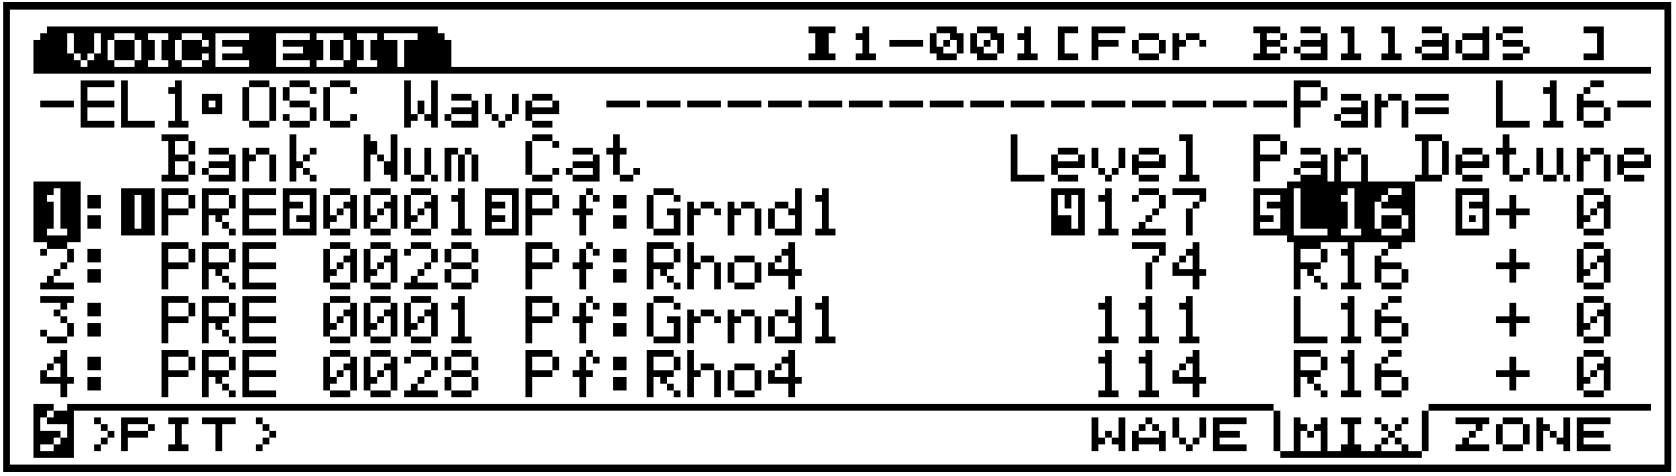
Here we are in Voice Edit mode. We are listening to Internal 1, Voice 001, the Voice called “For Ballads”. This is the Element 1 Oscillator page (EL1 – OSC Wave). We are looking at the element Mixer [Mix] sub page [F7]. The cursor is currently on line three, where each of the 6 knobs is directly set to edit a parameter. Currently, the Pan position of Element 1 is selected. Notice the upper right side – it indicates the current value for the selected parameter (and usually translates any abbreviations). Notice the “> Pit >” above the [F1] button, this is a shortcut to the next page which is going to be Pitch. The inverse video ‘s’ in the lower left-hand corner indicates that hitting and holding the [SHIFT] button will reveal shortcuts, in this case, to the other Voice Edit main pages. If during any edit mode process you want to use the knobs to adjust the sound according to their Voice Play assignments, simply press and light the [KNOB MODE] button.
Data Entry
Your right-hand side data entry tools include a Data Dial and its associated [CURSOR/DATA] button. You can use this wheel either to move the cursor or change selected values. The [CANCEL] button will undo the last value entered. This is very valuable when trying out an edit. The [DEC/NO], [INC/YES] buttons can increment or scroll, if held. They answer an questions prompted in the software. The Cursor arrows are used to move the highlight selector around the screen. The Numeric Keypad and [ENTER] buttons work together. When you enter a number value directly on the keypad you must finish this process by pressing [ENTER]. In general, any flashing screen value must be followed by the [ENTER] key. Bank [A] through [H] and Program [1] through [16] buttons select sounds directly. You will notice that each Voice is designated a Bank, a numbered location (001-128), and a letter bank/program number location. For example, Preset Bank 1, Voice number 2 is P1-002 (A02); Internal Bank 2, Voice 127 is I2-127 (H15). If you choose to select sounds via these buttons, simply select the letter first (A-H), then the number (1-16). In Voice Edit mode the Program buttons [1]-[8] can select the various edit mode displays. They are great shortcuts to any Voice Edit screen in addition to the [F] function buttons beneath the screen. Changing Voice Banks is accomplished via the [F1], [F2], [F3] and [F4] soft buttons. They select Preset 1, Preset 2, Internal 1, and Internal 2 Voice Banks, respectively. You must also press [ENTER] to complete the Bank change or hold [SHIFT] + the [F1]-[F4] button to change banks directly.
10 Modes
Voice, Performance, Song, Pattern, Sample Edit, Job, Store, Utility, Disk: The first 5 are your Main modes.
Voice mode contains 512 sounds while Performance mode has 128 locations that hold complex layers and/or Multi-timbral setups for sequencing and Master MIDI control setups. A Pattern is an EX structure that loops up to 16 measures. Each Pattern track can be a different length. Up to 8 Parts can exist within a Pattern. A Song in the EX has 16 linear tracks, a Pattern control track, and a master tempo track. Songs and Patterns can be assigned to play Voices within a Performance. Sample mode is a separate function and controls the setup and editing of sampled data. Samples can be programmed into an EX Voice or assigned to a Key Map. In the second group of modes both Edit and Job parameters can be found for each of the 5 Main modes. In other words, to find Song Edit parameters you would need to be in Song mode when the [EDIT] button is pressed. To view the Pattern Jobs you would press [JOB] from the main Pattern mode screen, and so on. Store mode refers to Voices and Performances which can be stored to the EX Internal locations. Utility mode is where you setup global parameters for the synthesizer, sequencer, controllers, etc. Disk is the mode where you can save/load data to/from either internal floppy or external hard disks, Ziptm, Jaztm drives or CDROM drives.
Selecting a Voice
How to select a sound Turn the EX unit on and select [VOICE] mode, if not already selected.
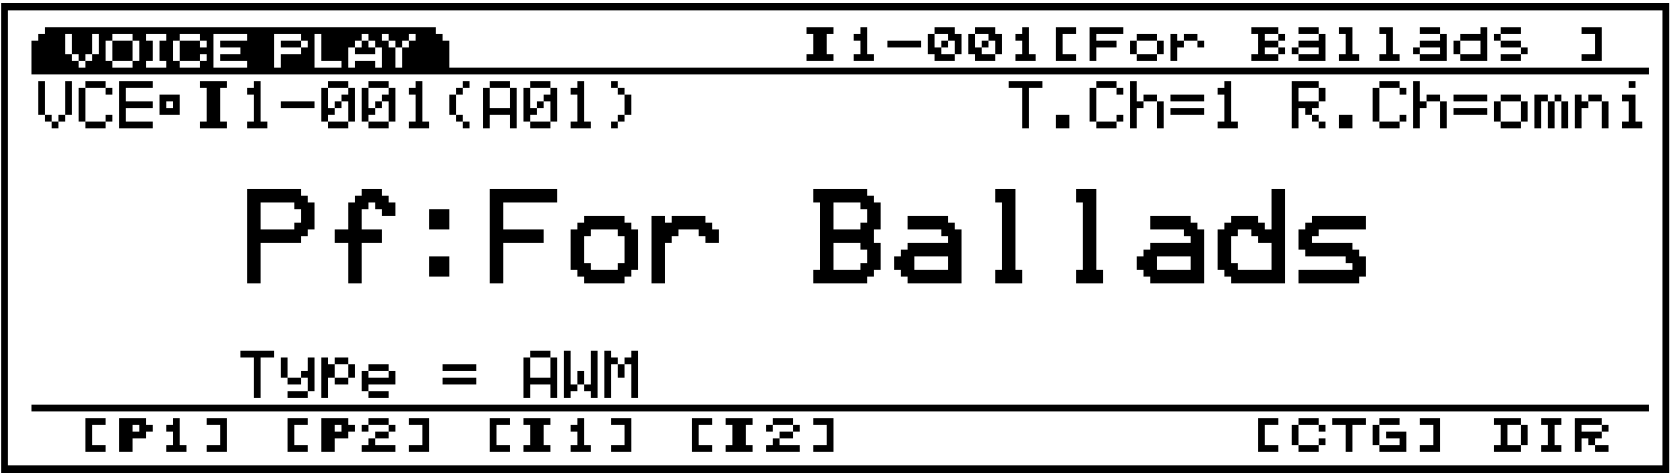
You can begin your exploration of EX sounds from Voice mode. There are 4 Banks each with 128 Sounds. The Banks are as follows: P1- Preset 1, P2- Preset 2, I1- Internal 1, I2- Internal 2. To change Banks, simply press the [F1] – [F4] function buttons beneath the screen followed by the [ENTER] button, or hold [SHIFT] + the [F1] – [F4] button. The current bank and Voice number are shown in the upper left-hand corner of the screen. Individual sounds can be selected via the Data Wheel, [INC/Yes], [DEC/No], numeric keypad + [ENTER], or dedicated Memory Bank (A-H)/Program buttons (1-16). You can also view the names of 8 Voices at once via the [F8] Dir (directory) function. In the directory view you can additionally select sounds via the cursor arrows. You can search for a sound in the same Voice category as the current Voice by pressing the [F7] button. Preset 1 has the Pianos, Electric Pianos, Organs etc. To get a variety of sounds it recommended that you select Internal 1 Bank by pressing [F3], then [ENTER]. Then select Voice 1 (A01) via your favorite Voice selection method:
Ready for Part II? Click here!
Have questions/comments? Join the conversation on the Forum here.